Laucher
2024年 07月 30日
0
Vue3项目中实现“电梯”效果,快速实现锚点导航功能
Vue3项目中实现“电梯”效果的锚点导航功能。该功能包括点击左侧导航后右侧内容区平滑滚动到对应位置,以及右侧内容区滚动到相应位置时左侧导航动态更新选中状态。实现方法结合了scrollIntoView和IntersectionObserver

如果您的项目中没有使用Hash路由,可以使用纯css实现,具体操作请参照scroll-behavior
如果您的项目跟我目前一样,使用的是vue的Hash路由,可以参考以下方法
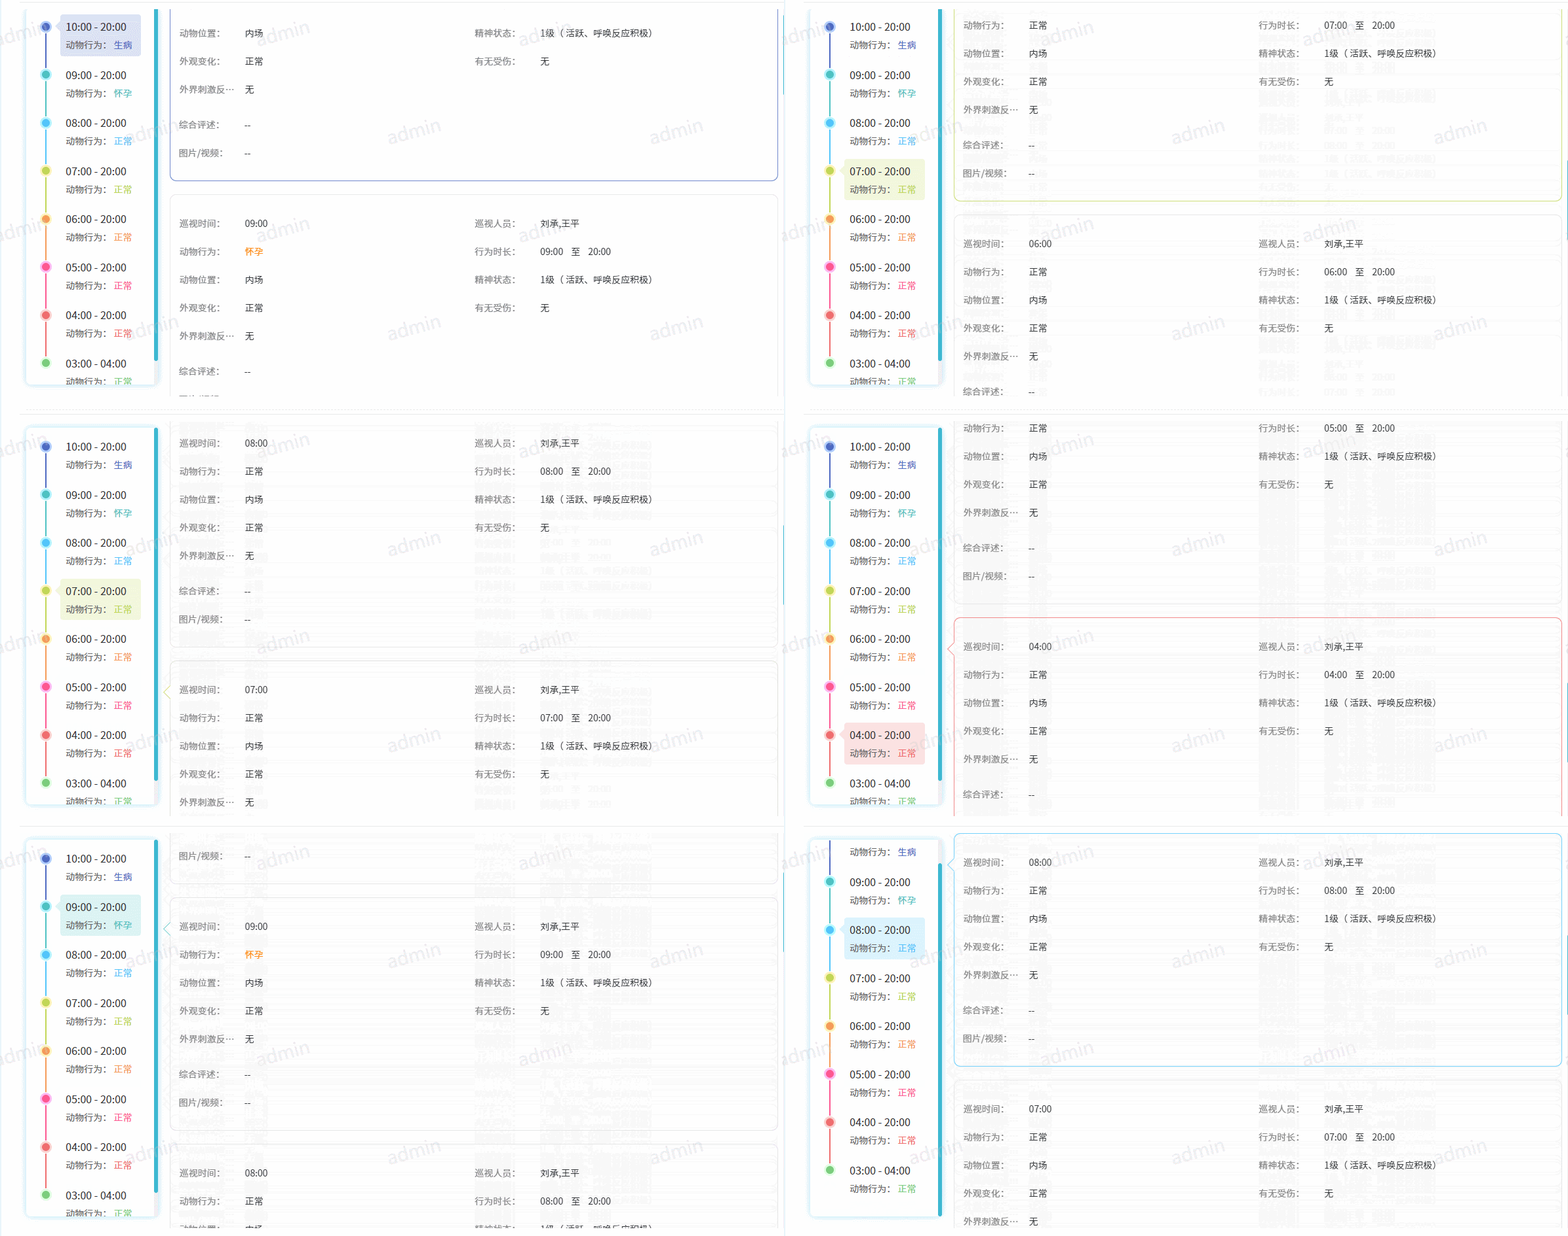
最终效果示意:

主要是要实现两个功能点是:
- 点击左侧导航,右侧会滚动到指定位置
- 右侧滚动到相应位置时,实现左侧导航的动态更新
使用技术:
- 实现功能1需要js的scrollIntoView方法,让指定元素调用这个方法可以滚动到视图区

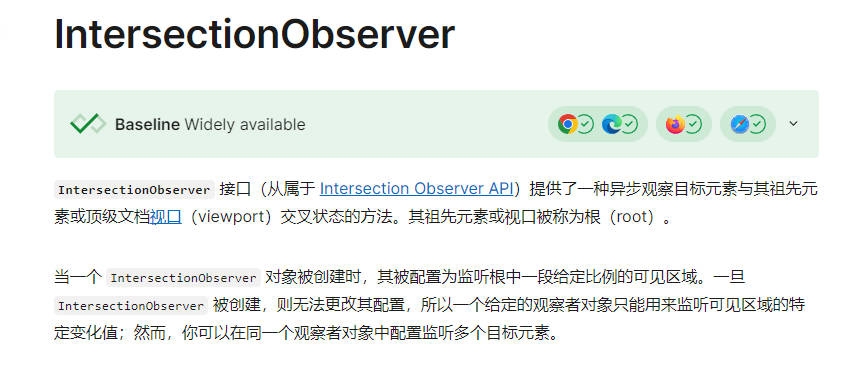
GIF - 实现功能2需要使用js的IntersectionObserver接口,通过监听目标元素滚动到视图区的时机,然后实现自己的功能。
我目前使用的是组件封装:
LineTime组件代码如下:
<!--
 @Author: Laucher
 @Date: 2024/7/29
 @Description: 時間綫組件
-->
<template>
  <n-timeline :icon-size="20">
    <n-timeline-item
      v-for="(item, index) in behaviorRecordList"
      :key="item.id"
      :style="{
                    '--n-line-color': getColorByLevel(index),
                    '--n-line-color-thin': darkenColor(getColorByLevel(index),100),
                    '--n-line-color-op': hexToRgba(getColorByLevel(index),0.2)
                  }"
    >
      <template #icon>
        <div
          class="circle border-[3px]"
          :style="`background: var(--n-line-color); border: 3px solid var(--n-line-color-thin)`"
        ></div>
      </template>
      <template #default>
        <div class="px-[8px] py-[8px] -mt-[10px] rounded cursor-pointer "
             :class="{
                          'circle-active': activeIndex == index + 1,
                         }"
             v-for="(v) in item.detail_json"
             :key="v.id"
             @click="changeHandle(index)"
        >
          <div v-if=" v.id === 'FeedFecalCollectionTour' && v.options?.partOptions.time"
               class="text-[#333] text-[14px] 2xl:text-[16px] mb-[10px]">
            {{ v.options?.partOptions.time }}
          </div>
          <div v-else class="text-[#333] text-[14px] 2xl:text-[16px] mb-[10px]">
            {{ v.options?.partOptions.times[0] }} -
            {{ v.options?.partOptions.times[1] }}
          </div>
          <div class="text-[#666666]">
                        <span class="text-[#666666]">
                            {{ v.options?.partOptions.title.label }}:
                        </span>
            <span :style="`color: var(--n-line-color)`">
                          {{ v.options?.partOptions.title.value }}
                        </span>
          </div>
        </div>
      </template>
    </n-timeline-item>
  </n-timeline>
</template>

<script setup lang="ts">
import {useColorByLevel} from "@/hooks/useColors";
import {onMounted, ref, toRefs} from "vue";

const {getColorByLevel, darkenColor, hexToRgba} = useColorByLevel();

const activeIndex = ref(1)

const props = withDefaults(
  defineProps<{
    behaviorRecordList: any;
  }>(),
  {
    behaviorRecordList: [],
  }
);

const {behaviorRecordList} = toRefs(props)

const emit = defineEmits(['activeIndex']);

function changeHandle(index) {
  activeIndex.value = index + 1
  // 让对应的元素滚动到视图区
  document.getElementById(behaviorRecordList.value[index].elId)?.scrollIntoView({
    behavior: "smooth",
  })
  emit('activeIndex', activeIndex.value)
}

function changeActive(els) {
  // 我们不需要做任何事情。
  if (els[0].intersectionRatio <= 0) return;
  if (els[0].isIntersecting > 0) {
    let index = behaviorRecordList.value.findIndex(
      (item) => item.elId == els[0].target.id
    )
    if (index != -1) {
      activeIndex.value = index + 1
      emit('activeIndex', activeIndex.value)
    }
  }
}

onMounted(() => {
  let observer = new IntersectionObserver(changeActive, {
    root: null,
    threshold: 1,
  })

  behaviorRecordList.value.map((item) => {
    let el = document.getElementById(item.elId)
    el && observer.observe(el)
  })
})
</script>

<style scoped lang="less">
.circle {
  width: 18px;
  height: 18px;
  border-radius: 50%; /* 设置为圆形 */
}

.circle-active {
  position: relative;
  background-color: var(--n-line-color-op);

  &::before {
    content: '';
    position: absolute;
    width: 0;
    height: 0;
    border-top: 8px solid transparent;
    border-bottom: 8px solid transparent;
    border-right: 8px solid var(--n-line-color-op); /* 三角形的颜色 */
    left: -8px;
    top: 10px;
  }
}
</style>
因为项目的右边内容是根据数据渲染生成,所以需要为右边每一项设置一个唯一id值,然后再对照LineTime组件代码,即可实现效果。


